Author Archives: Claina

Challenge No.1

Welcome to the first ever Claina’s Crafty Crew Challenge!

Each time a theme for the challenge is set, you are free to create any project that applies to that theme, it can be a Card/Gift Tag/Gift Bag/Gift Box/Lantern or 3D project of your choice.

The best bit about these challenges is that the winner is picked by a random number generator so every one has equal chance to win, so post your makes in the group and join in the fun! The prize is a £25 coupon to the store.

OK, Challenge No.1’s theme is Repetition! Simply use an element more than once in your project.

I’ve made a couple of Easter cards for inspiration (you don’t have to make cards though) I took a couple of small Easter dies and die cut them in a variety of pastel colours to fill the front of my cards. I had some other ideas which you are more then welcome to do:

  • alternating a couple of different flowers
  • finding all of the different sized stars I have for a night sky look
  • making a panel using a sentiment in Mirror & Glitter Card

Patterned Strip die: https://www.clainapalmer.com/index.php?route=product/product&path=1_19&product_id=138

Stripe/Plaid background: https://www.clainapalmer.com/index.php?route=product/product&path=1_9&product_id=200

Easter Eggs, Happy Easter sentiment and Oval die: https://www.clainapalmer.com/index.php?route=product/product&product_id=186

Hoppy Easter sentiment: https://www.clainapalmer.com/index.php?route=product/product&product_id=187


Remember this is meant to be fun and not to be taken too seriously 🙂 To join in, post a picture of your project in the Claina’s Crafty Crew facebook group mentioning the challenge by May 10th. One person will be picked at random to win the coupon! I’m so excited to see what you create!

Claina x


Blooming ‘ansome Wreath Tutorial

Making a Christmas Wreath with Claina Palmer Designs Blooming ‘ansome Dies

1. The first step is to choose which flowers and foliage from the Christmas Blooming ‘ansome collections you would like to use for your wreath. To make each of my ‘bunches’, I’ve chosen 1 sprig of Holly, 3 Fir Branches and a Poinsettia along with a connector and a brad. I decorated my Holly Berries with 4mm flat backed pearls and set aside to dry.

2. Using the Double Stitched Nesting Circle Dies, I created a hanger for my wreath. I used 2 circle dies and a tag creator, I cut 3 layers of card to make it sturdy then I threaded it with ribbon. I cut the wreath bow twice, I added some shape and glued the two bows together in the middle.

3. Once the glue was dry on my Holly Berries, I assembled 10 ‘bunches’. I added some shape to all of my pieces then threaded the Poinsettia onto my brad followed by the Holly, the Fir and lastly the connector. I glued the 2 layers of the brad covers together, domed them slightly and adhered them into place to form the middle of my Poinsettia.

4. To assemble the wreath, flip over all of your bunches and link them together using the connectors.

5. Place a glue dot onto the back of each brad.

6. Place your wreath hanger circle over your glue dots and press to secure it.

7. Now you can flip over your completed wreath and attach your bow.

8. Hang it and admire your work!

You can create an array of wreaths and garlands using the Blooming ‘ansome range from Claina Palmer Designs, why not create swags to adorn the top of your mirrors and photo frames or small wreaths for the base of your electronic candles? With 10 different Blooming ‘ansome collections to chose from, you can create wreaths for all seasons!

https://www.clainapalmer.com/index.php?route=product/category&path=1_8

Please share what you create in our facebook group, we’d love to see it! 🙂


Why I use Nesting Dies in my 3D projects

Hi Guys!

I’ve had a couple of comments recently asking about the use of seperate packs of nesting dies in my 3D projects and I’d like to explain why I do this. Here are a couple of comments as examples:

so you can’t make egg without them which means you have to buy both sets, sorry but doesn’t that make it more expensive?

They should put all the dies you need to make the item. It happened to me when I purchased a set but couldn’t make it until I purchased the other dies. Expensive. So don’t buy anymore from them until it comes as complete package.

Is it more expensive? Maybe and No!

If you are interested in just 1 set of my 3D projects, it could possibly be more expensive than other companies if you purchase just that set and the nested dies, However, the project will more than likely be much larger! My 3D projects on average are 8 to 12 inches tall.*

If you wish to have more than 1 die set from a collection then they work out much much less expensive than what is currently on the market:

  • The Hexagon collection has 9 x 3D projects so far
  • The Octagon collection has 5 x 3D projects so far
  • The Square collection has 5 x 3D projects so far
  • The A5 collection has 8 x 3D projects so far

So far, I have expanded 3 of the collections and have lots more coming too, this means you only have to purchase the basic shapes needed once! If I add the basic shapes to each set you will be buying them over and over and ultimately, I would have to choose between doubling the price of the projects or shrinking the size dramatically.

I realise that this is what everyone is used to but I’m trying something a little different which means that I can bring you good value – large projects 🙂

I hope that clears up some of the confusion – Claina x


* I understand it is tricky for you to compare the size differences as some companies are reluctant to advertise their completed project sizes.


Heavy Weight Materials

Hi Guys!

I often get asked where I source cardstock above 300gsm for large 3D and construction projects that I sometimes use in my samples and demonstrations. I do a lot of searching around to find great prices as I often buy in bulk so this list might be of interest to you too 🙂

White Cardstock

White Smooth 350gsm – 75 sheets £6.00 https://www.limetreecraft.com/product/white-card-smooth-350-gms-copy/


Coloured Cardstock

Ivory 330gsm – 50 sheets £5.40 https://www.limetreecraft.com/product/blossom/

Pale Pink 330gsm – 50 sheets £5.40 https://www.limetreecraft.com/product/blossom/

Pale Green 330gsm – 50 sheets £5.40 https://www.limetreecraft.com/product/blossom/

Butterscotch 330gsm – 50 sheets £5.40  https://www.limetreecraft.com/product/cbutterscotch-30gsm/

Buttermilk 330gsm – 50 sheets £5.60 https://www.limetreecraft.com/product/buttermilk-330/


Mirror Card

Silver 350gsm – 25 sheets £4.50 https://www.limetreecraft.com/product/silver-mirri-300/


If you know of any other heavy weight materials that have great prices, let me know and I’ll add them to the list.

– Claina

p.s. I have no affiliation with any of these sellers and will receive no benefit from any sales, I’m purely responding to some questions I’ve received and trying to help 🙂

Gift Card Holders from Stacking Boxes!

Hiyah!

Today I have a bonus project that you can make if you have our stacking box dies. How awesome is that? It’s like a 2 for 1!

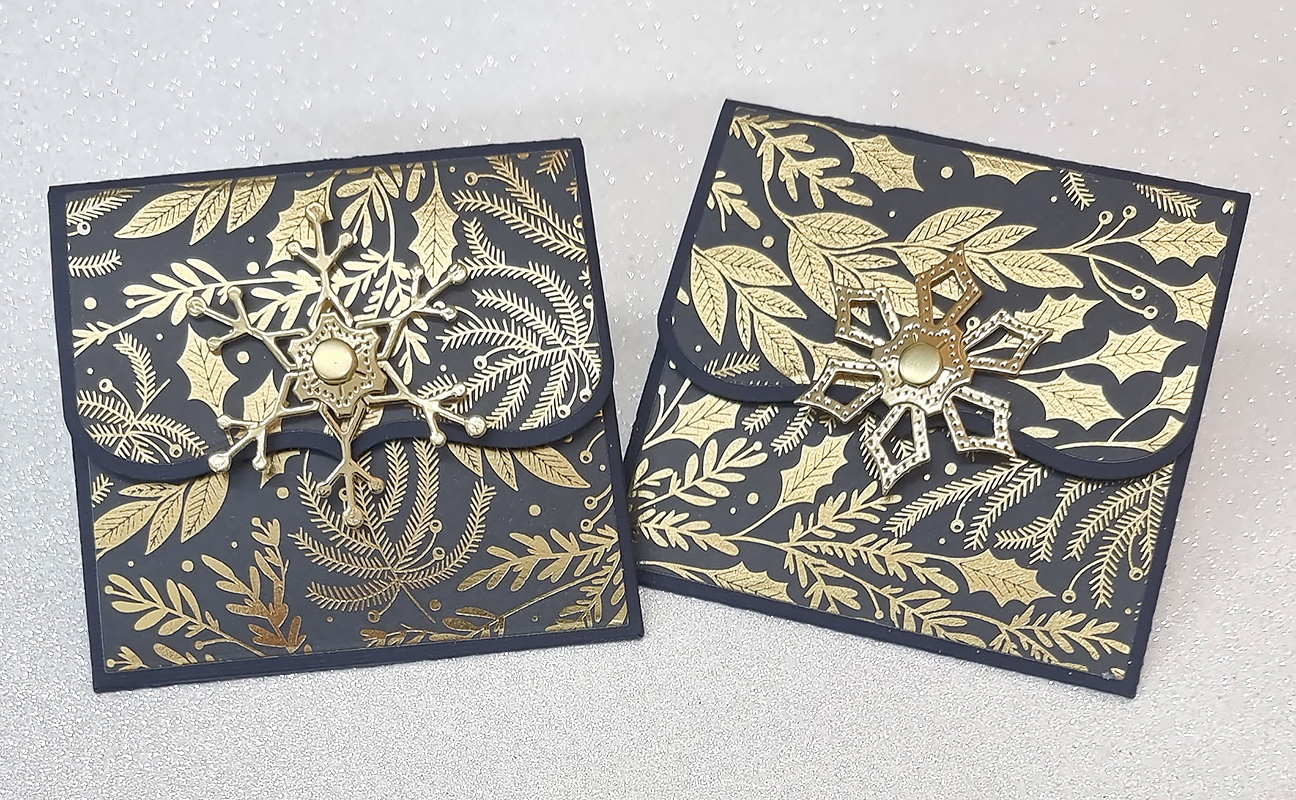
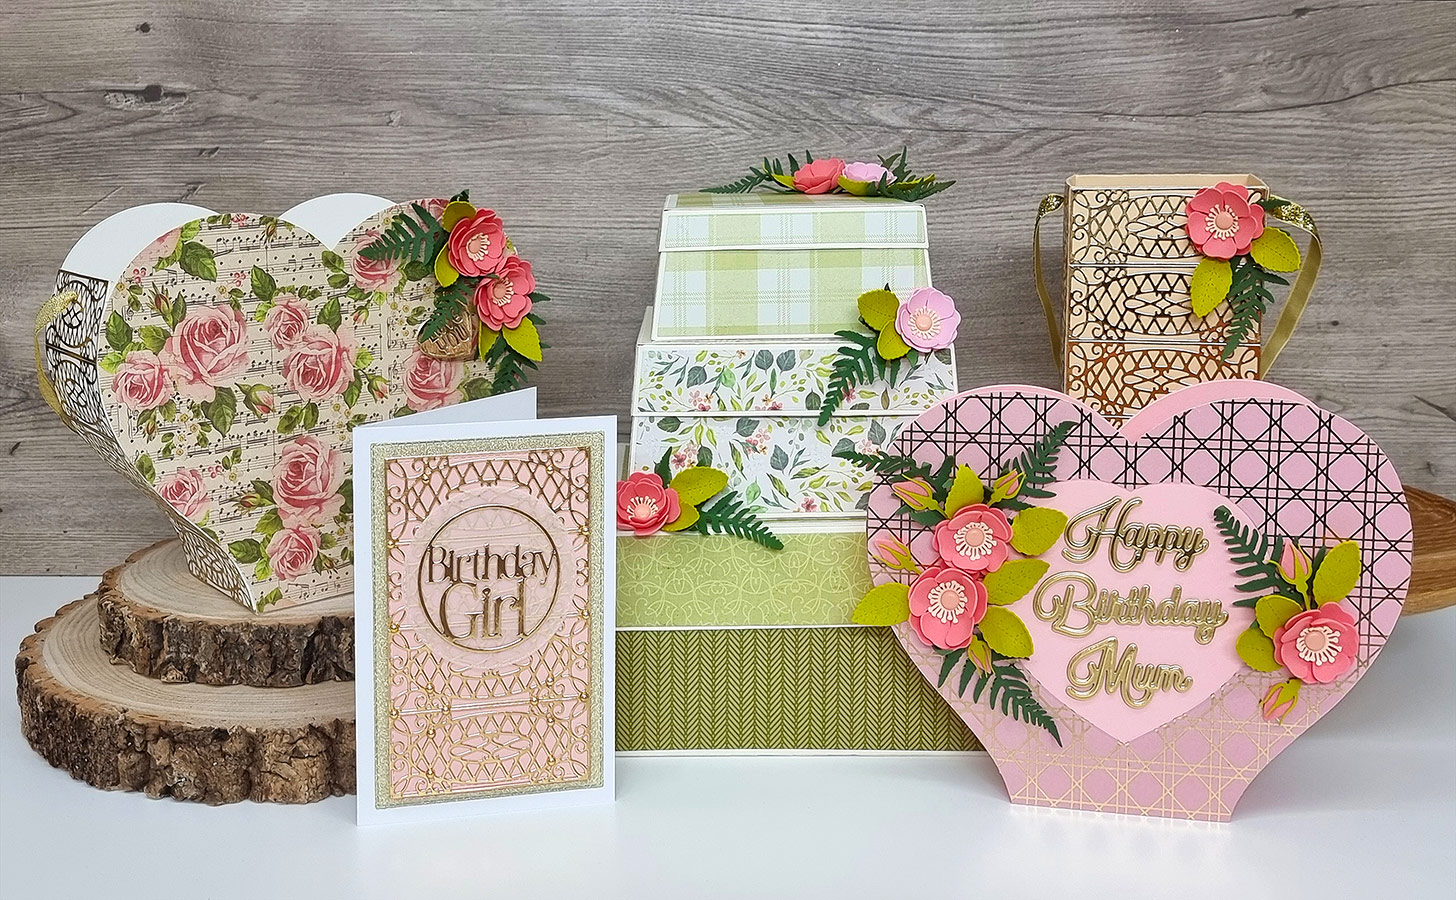
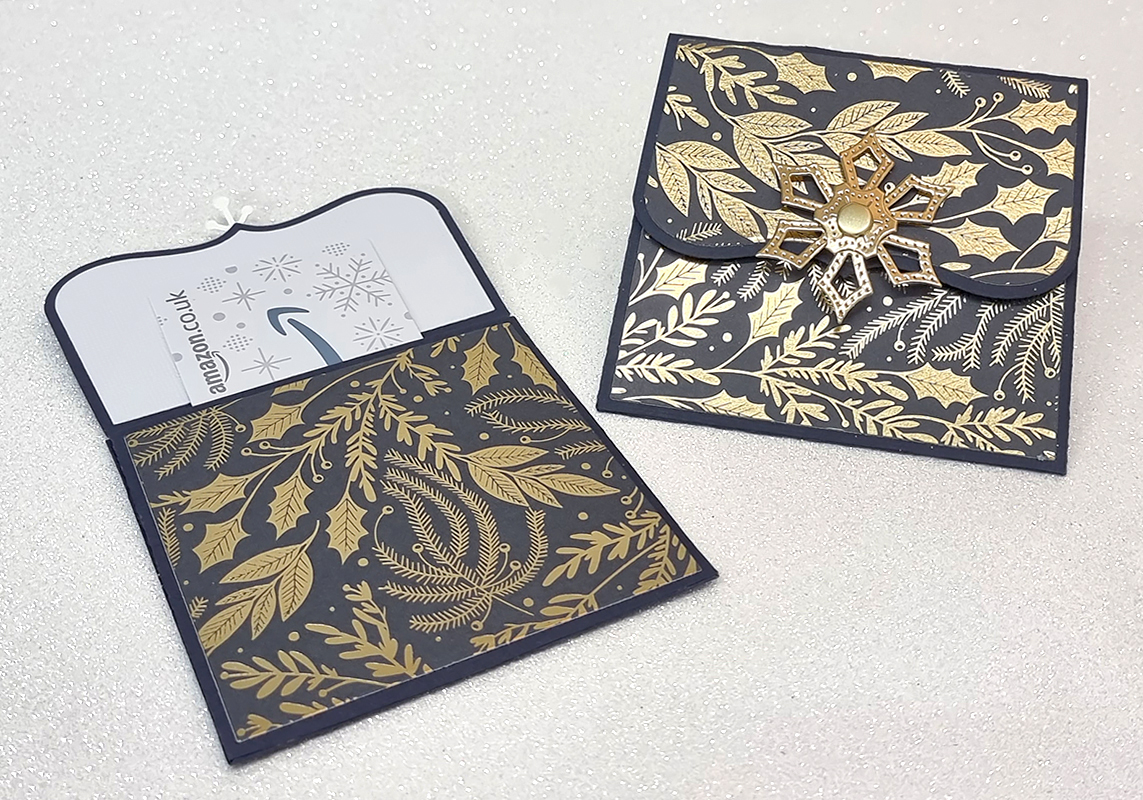
You can create these cute gift card holders with either the large Hexagon or Octagon stacking box dies. I recommend using the Hexagon version if you have it as it’s a bit roomier and looks great when it’s finished. Let me take you through it step-by-step.

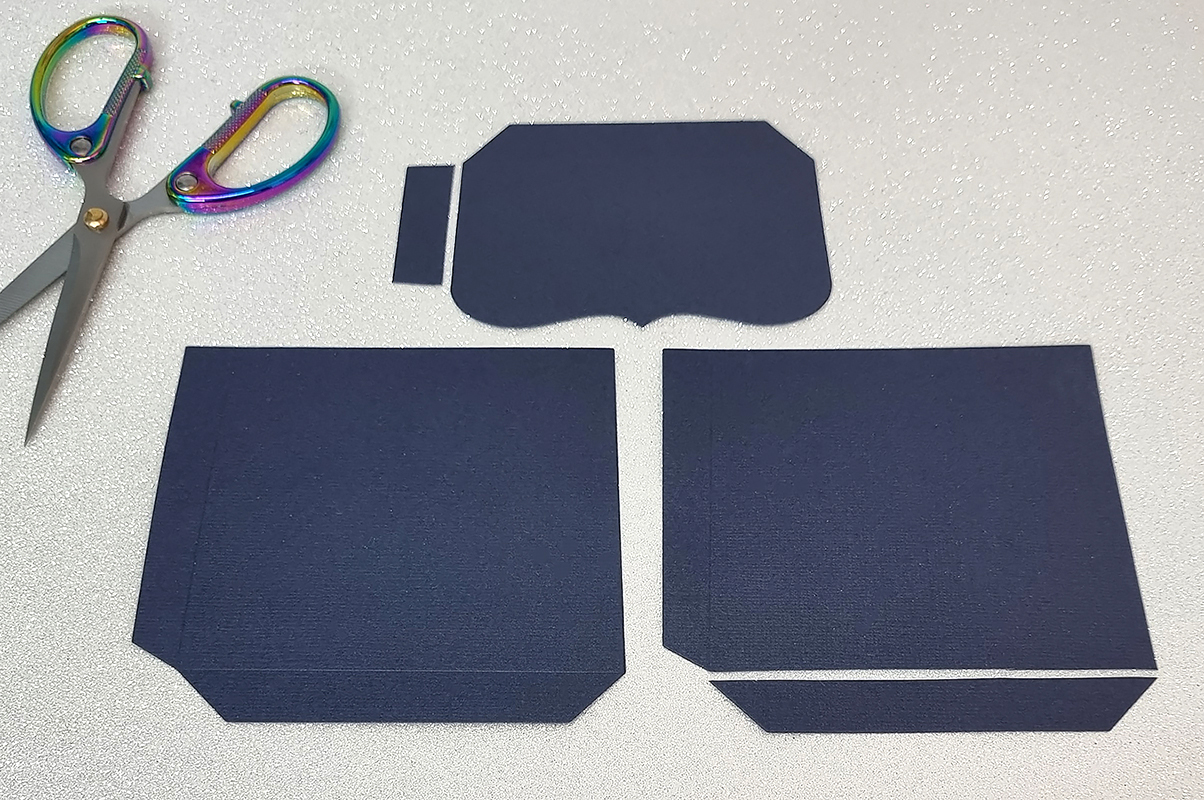
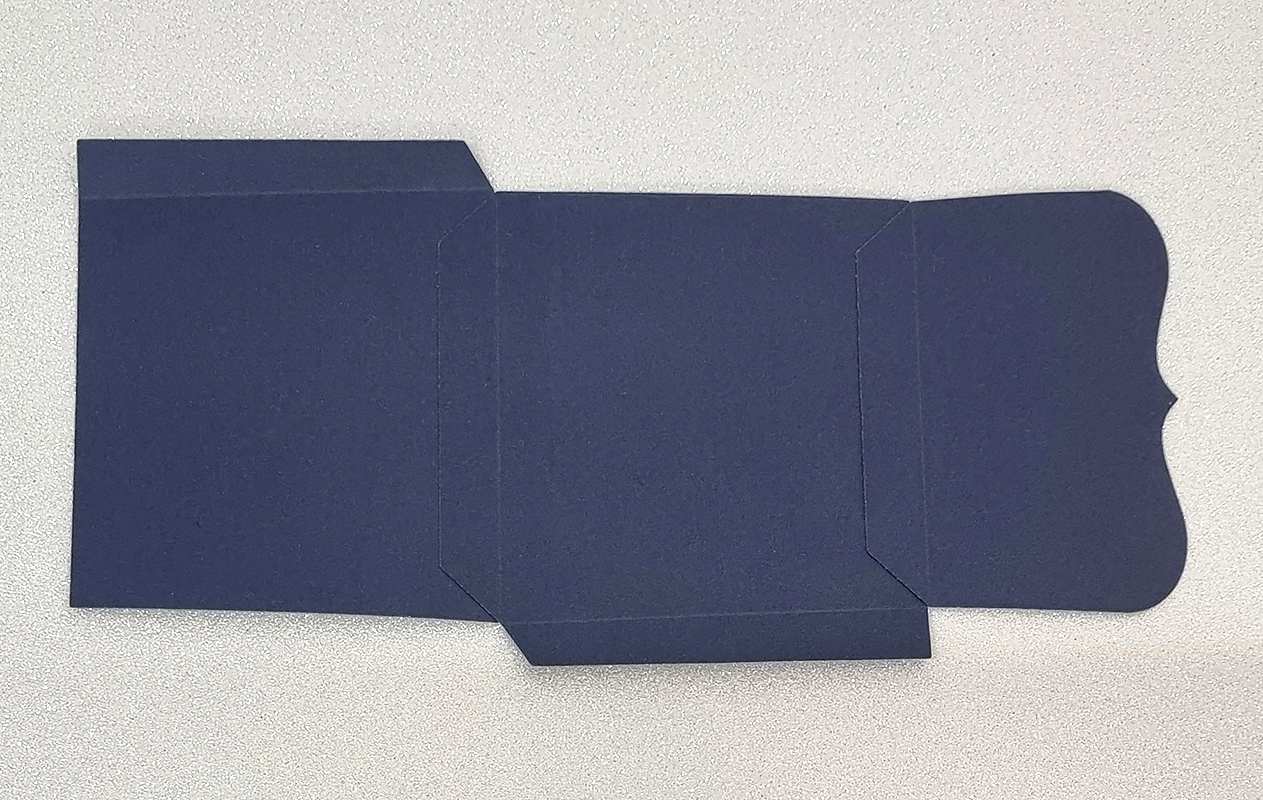
Step 1: Die cut 2 of the large hexagon stacking box side panels and snip the bottom tab off 1 of them. Die cut 1 Lid panel and snip off the side tab as shown above.

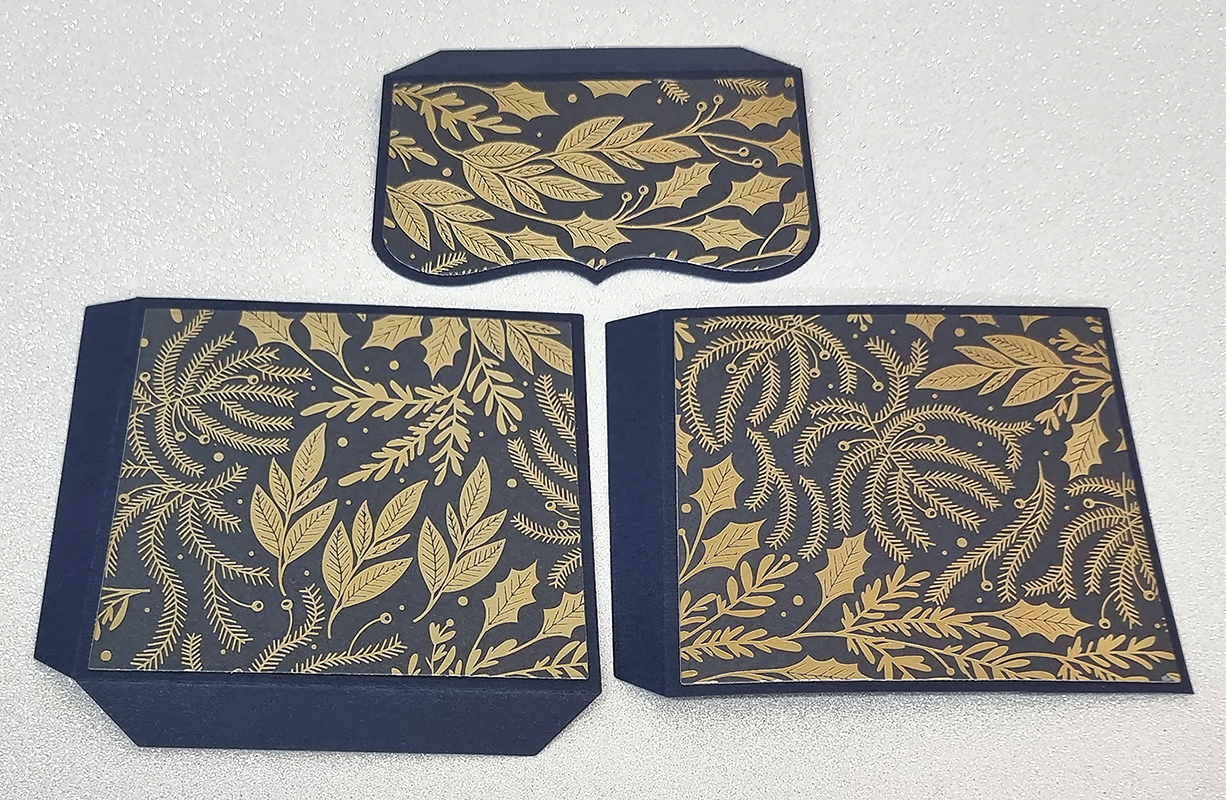
Step 2: Using the layer dies, die cut and glue patterned paper to your panels. Top tip: fold along your score lines before adding your patterned paper for easier placement.

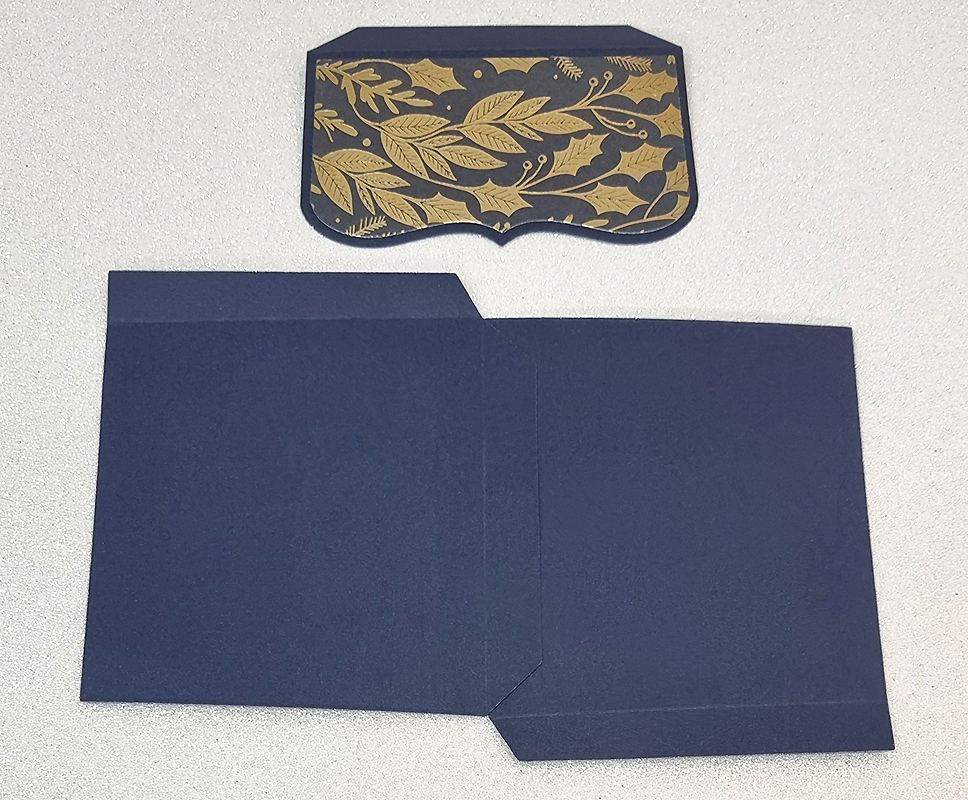
Step 3: Join the bottom edge of the 2 side panels together using the 1 remaining bottom tab as shown above.

Step 4: Add your lid panel as shown above. It can be added to either end as your gift card holder is just as pretty on the front and back!

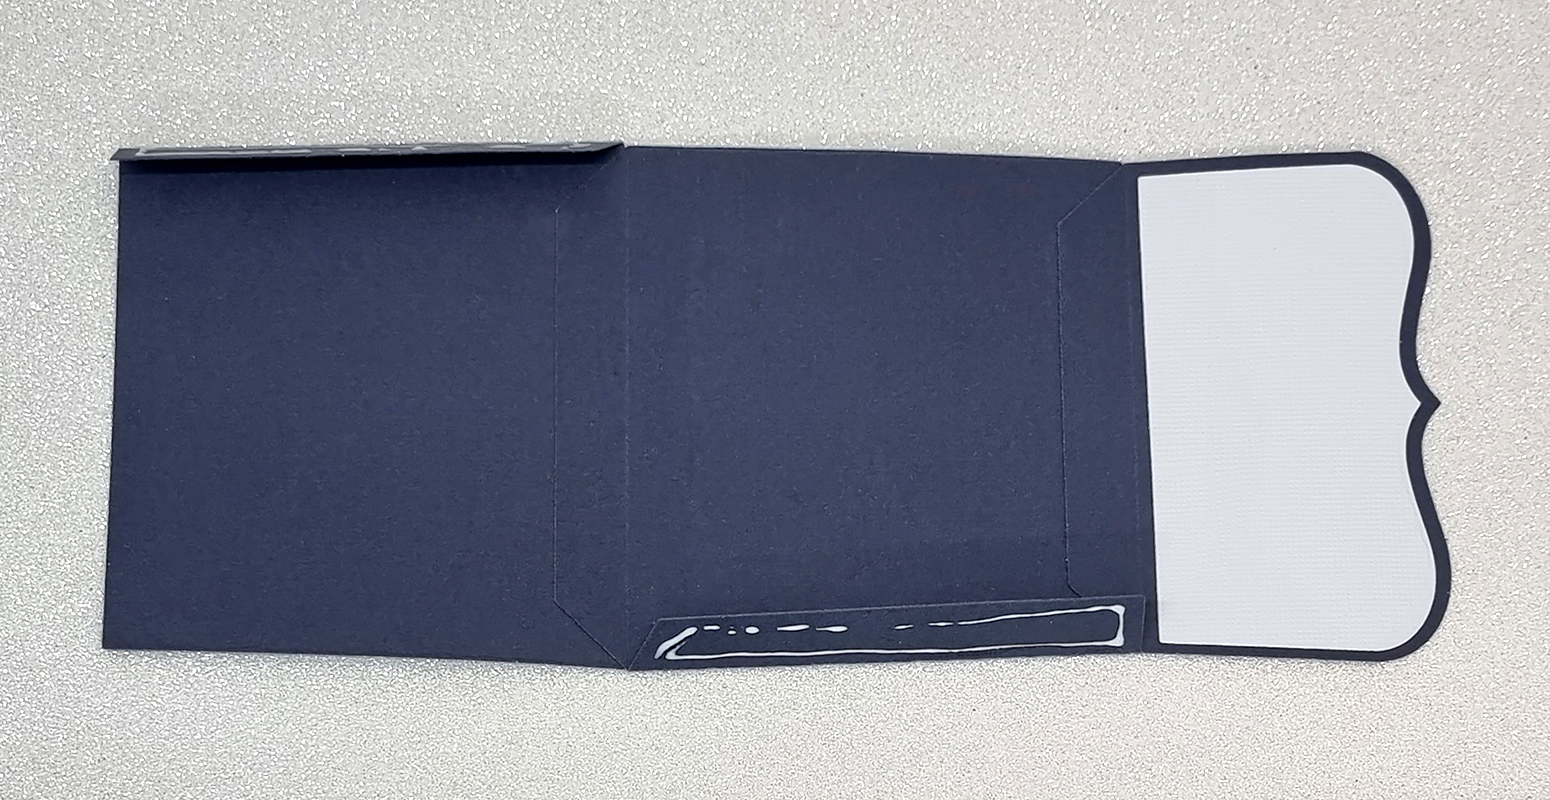
Step 5: If you are using dark coloured cardstock, add a white layer on the inside of your lid so you can write a message to the recipient.

Step 6: Add glue to both of the side tabs and close up your gift card holder tucking the tabs on the inside.

Ta-da!

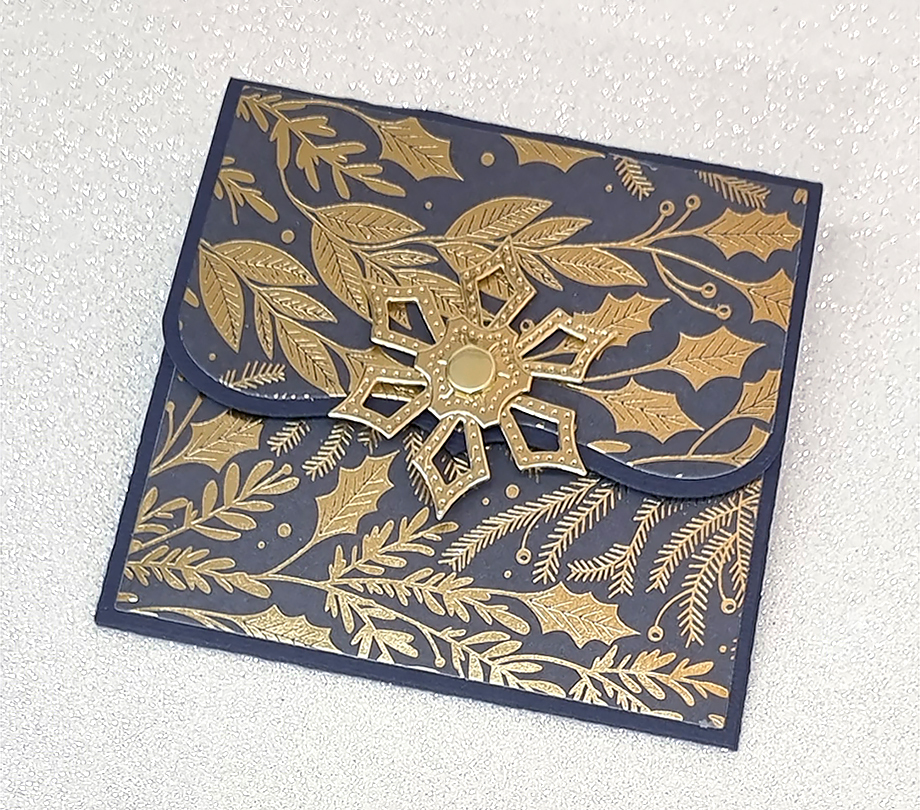
Step 7: You have many options to hold your lid closed. I have added a repositionable glue dot but you could use velcro dots, journal magnets, simply tie a ribbon bow or permanently close it with some double sided tape or regular glue dot. Top tip: try removing some of the tackiness from your double-sided tape or regular glue dot by pressing it against some clothing.

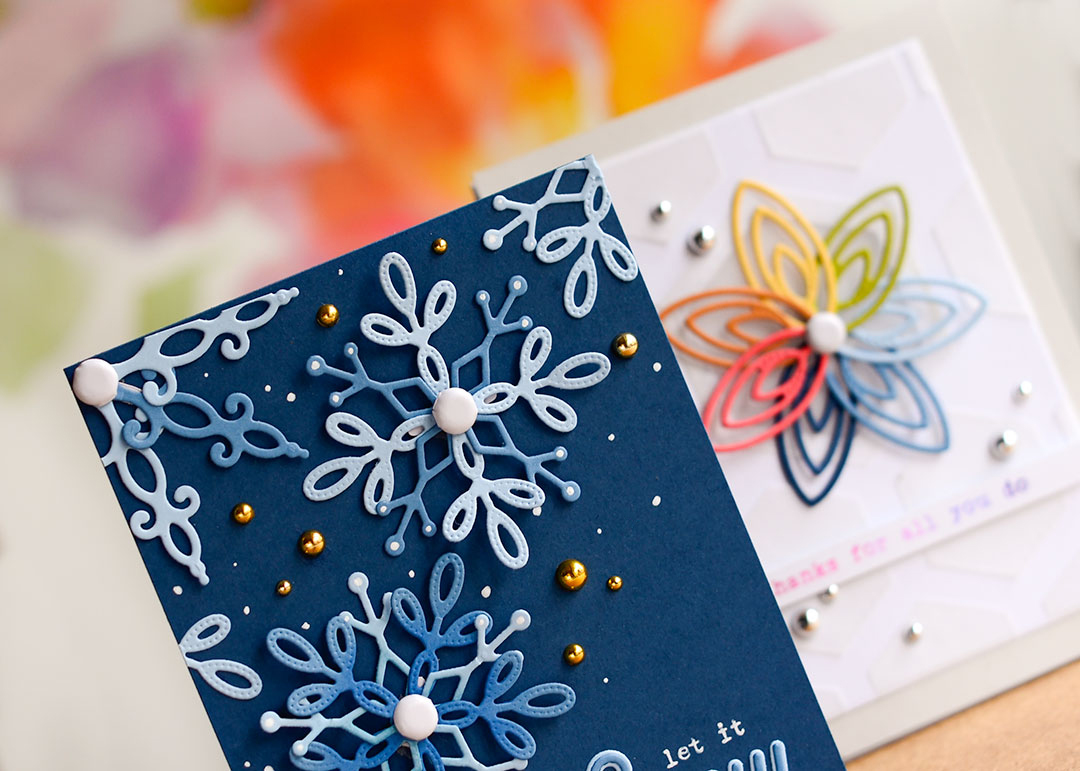
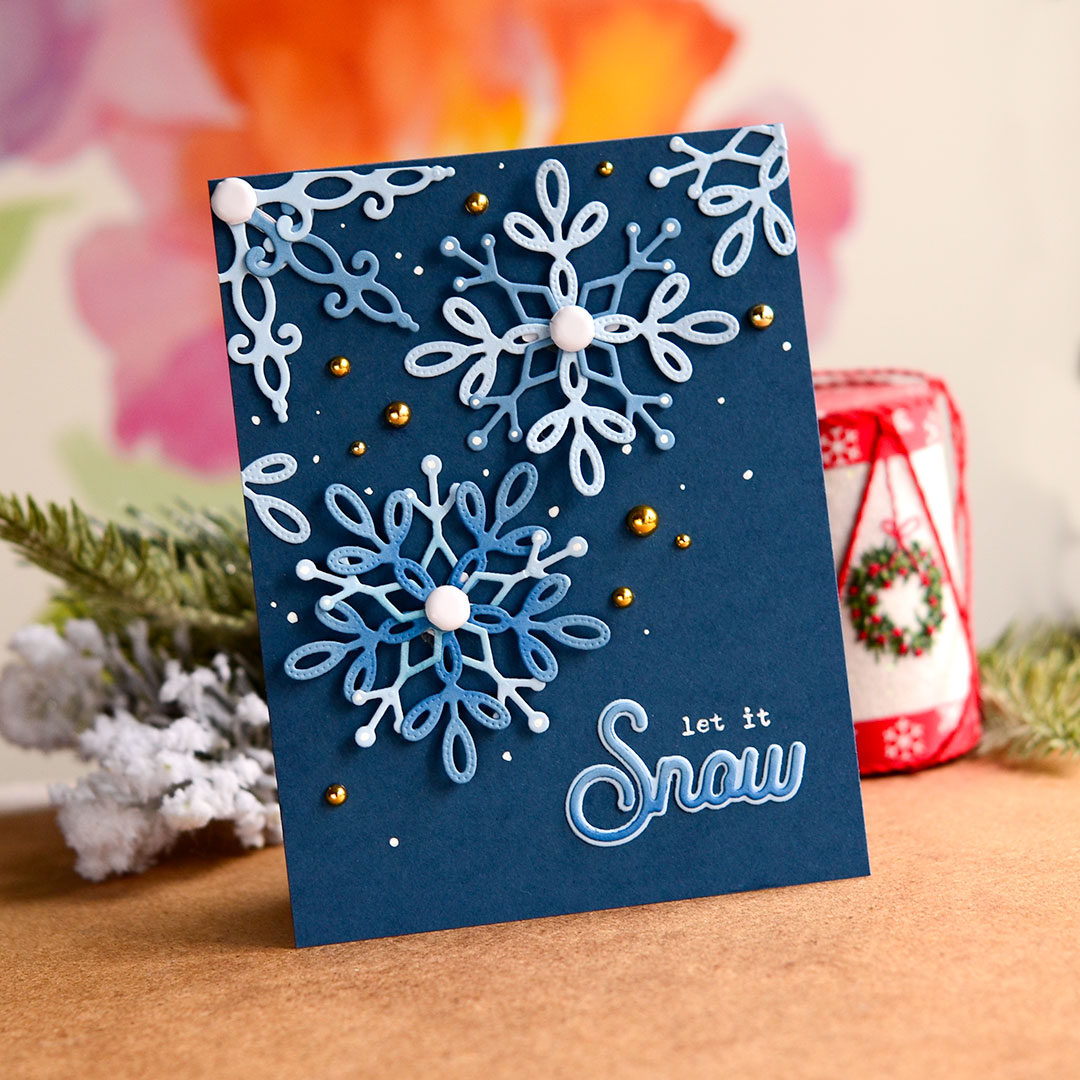
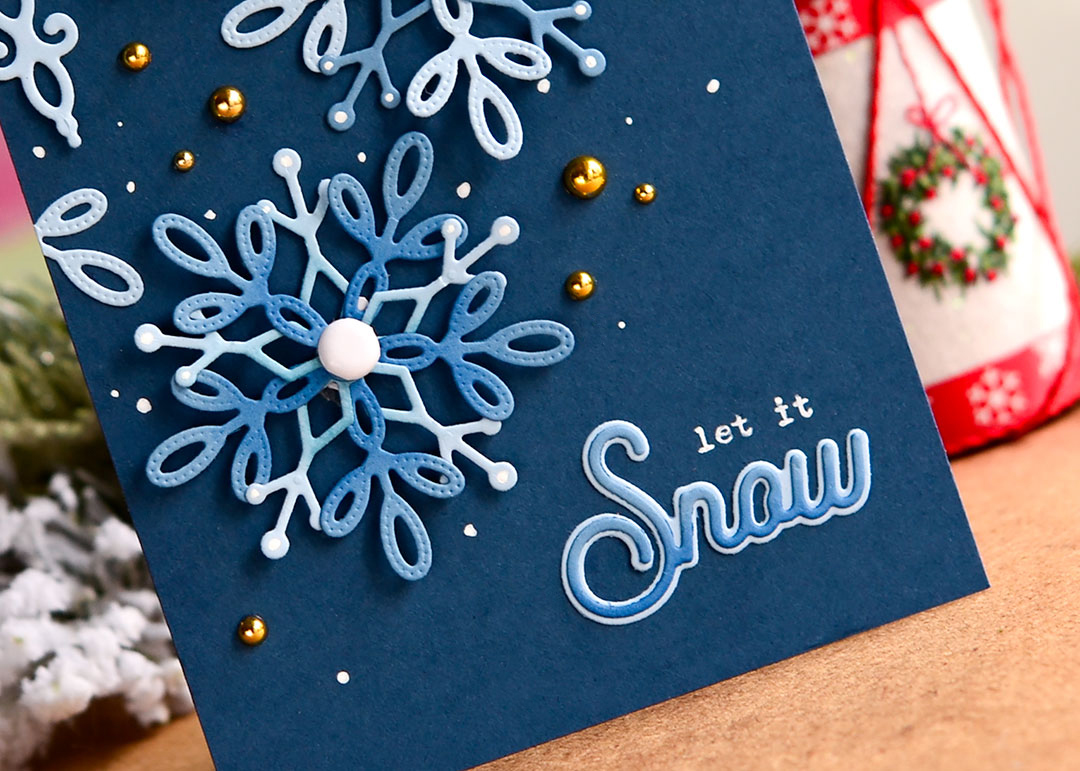
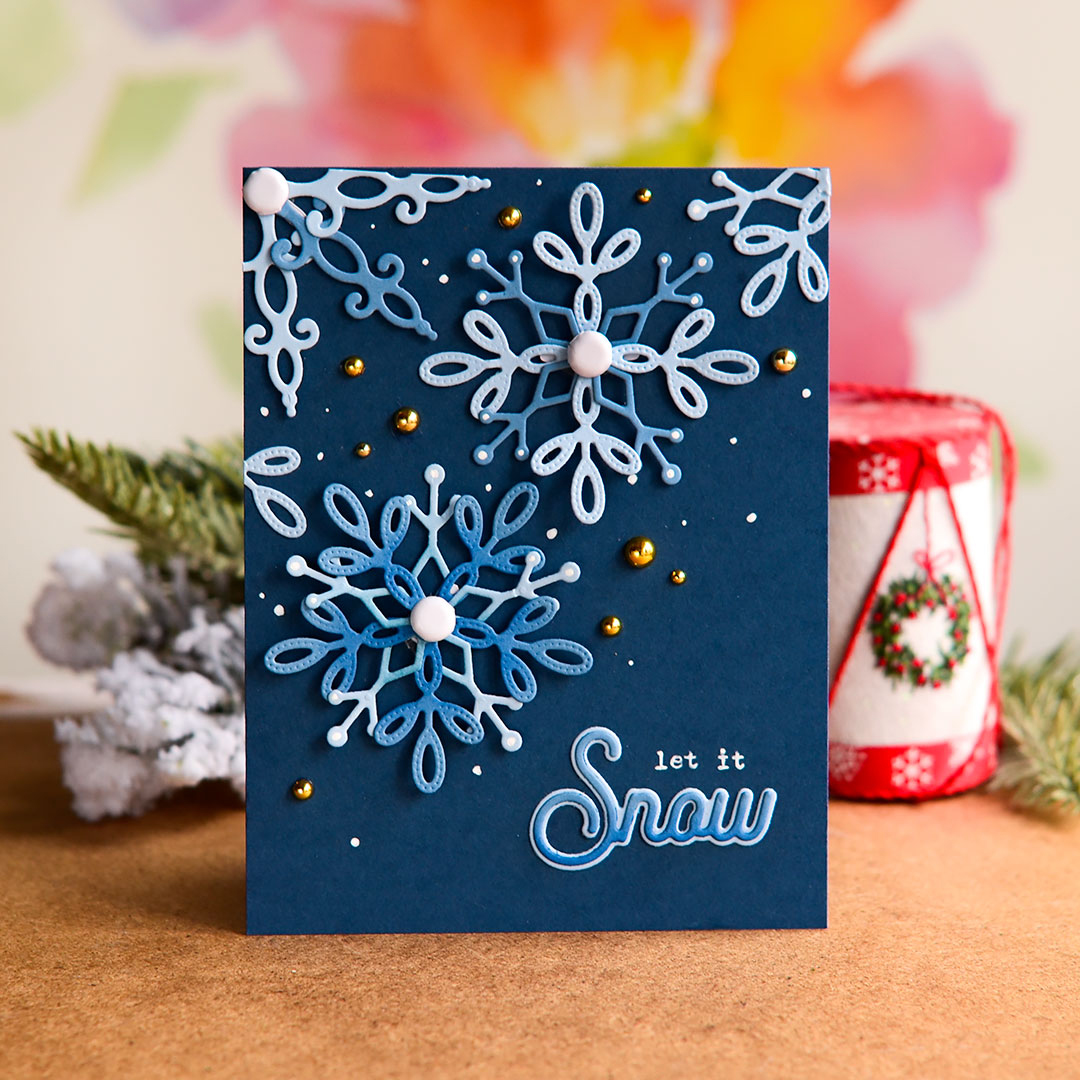
Step 8: The front of the gift card holder is crying out for some decoration so why not add one of your blooming ‘ansome snowflakes?

I can’t claim this idea as my own as my Dad actually came up with this project idea, nice one Keith! But I absolutely love that you can make a brand new project with dies that you may already have in your stash.

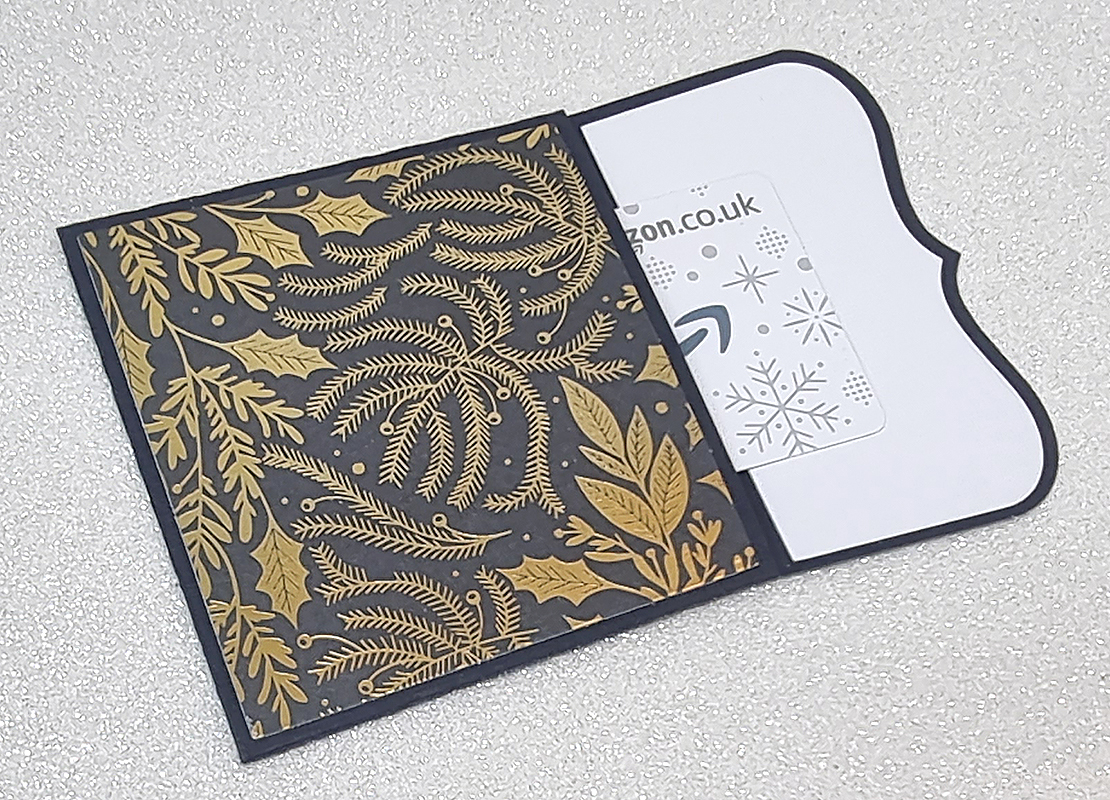
Many of us tend to give Gift Cards this time of year and popping them into a hand made Gift Card Holder can make them look much more special. If you make some, do share some pictures in our facebook group, we love to see what you create!

Stay warm, pop on a Christmas film and enjoy some crafting.

Claina x

Snowflakes & Flowers

Hello everyone!

Today I want to show two different cards made with the same “Build a snowflake” die set.

Actually it is called Blooming ‘ansome Snowflake Edition and as you may know with this “Blooming” die collection you can create ( or build ) a lot of different designs from a classic wreath to a separate cluster. 


For my first card I cut out a few elements using Blooming ‘ansome Snowflake Edition Die set from a light and dark blue cardstock. I didn’t use any glue to assemble the snowflakes, I simply secured the die cuts with a large white brads. You can find them in Claina Palmer Store as well – Large White Brads (2 Pots) They are perfect to use with any Blooming Die cuts. I love their white matt finish so I did not cover up them with additional die cuts.


To create a sentiment I used Mix ’em Dies – Christmas Die Set. I cut out the word “Snow” from a light blue cardstock and applied dark blue ink on the bottom of the die cut. I stamped the other part of sentiment using white pigment ink and a small stamp “Let it” from Mix ’em Stamps – Christmas Stamp Set. 

 To embellish the card I used amazing gold foiled pearls – Top Gems – Christmas Gold.


As I was saying, I used Blooming ‘ansome Snowflake Edition Sie Set for both of my cards. I picked another small die from this set and I run through my die cutting machine with a coloured cardstock (use your scraps). I secured the die cuts with the white brad again and I got a beautiful rainbow flower.


I decided to create a geometric card background and I cut out a few hexagons from a vellum using 8″ x 8″ Double-Stitched Nested Octagon Dies. Most often I made A2 US cards, so I used the smallest hexagon die from this set. I adhered them on a white card panel. 


I stamped a small sentiment using multicolored dye ink and a stamp from Mix ’em Stamps – Family. To embellish the card I used silver pearls called Top Gems – Christmas Silver.

Thanks for stopping by!
Galina


More Tropical Cards by Galina

Hello everyone! Galina is here to share with you a hot summer cards!


I played with a beautiful Tropical dies from Claina Palmer Designs and I want to share with two projects:
  • Layered card with tropical forest
  • Clean and simple geometric card
I made both of my projects using the same die sets!


Card Details
  • I applied different colors of Distress inks on wet watercolor paper. Mostly I applied green shades plus yellow and a little bit of blue. I dried the paper and made drops and splashes with water and white acrylic paint.
  • I cut out a lot of pretty tropical leaves, I used a large palm leaf and one smaller die from  Passion Flower & Leaf and Fan Palm and a big monstera leaf from Hibiscus, Flamingo Flower & Swiss Cheese Leaf.
  • To create a card panel I cut out a white panel using one of the dies from 5″x7″ Double-Stitched Nested Dies and I applied blue Distress ink to create a clouds.
  • I foam mount leaves around the centre and I placed die cut sentiment in the centre of my leaf frame. I cut out the word Thanks from red and white cardstock, below the die cut I stamped a second part of the sentiment with Versafine black ink.
And here is a second way of using floral tropical dies. I used a small flower die to create birds. I cut off a small part from the die cut and colored it with alcohol based markers. I add details with a white gel pen.


Card 2
Products featured

Card Details 
For my second card I used one of floral dies to create a geometric pattern on my card. This die is a part of Bird of Paradise, Lobster Claw & Banana Leaf and it can be used to build a flower.
  • I cut out a lot of circles in my A2 card panel and I foam mounted it on a colored cardstock.
  • To create a sentiment I used the same dies-  Mix ’em Dies – Essentials 2  and the stamp set – Mix ’em Stamps – Essentials. This time I cut out the sentiment from a gold and white cardstock and one additional piece from a vellum. I heat embossed the sentiment on a black cardstock and cut it out using a thin stripe die from – Claina Palmer – Banners Die Set 
  • I foam mount my both of my sentiments in the centre of the card.
Thanks for stopping by!
Galina